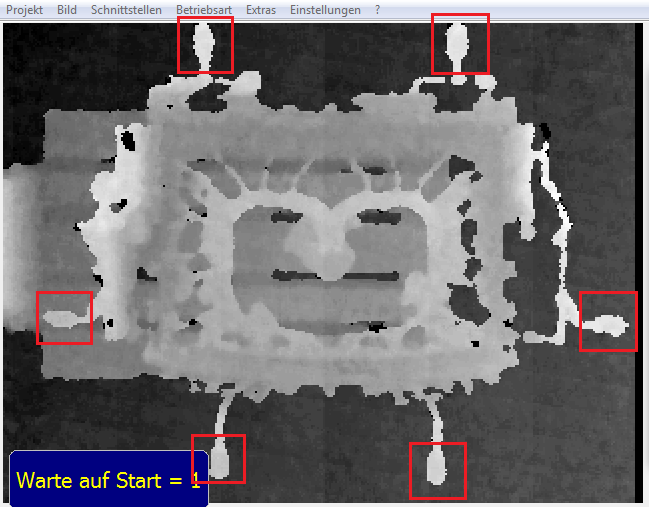
Casting bean check of a cylinder head by evaluation of the acquisitions of a 3D camera with V60

Check die-cast products for completeness
Check die-cast products for completeness
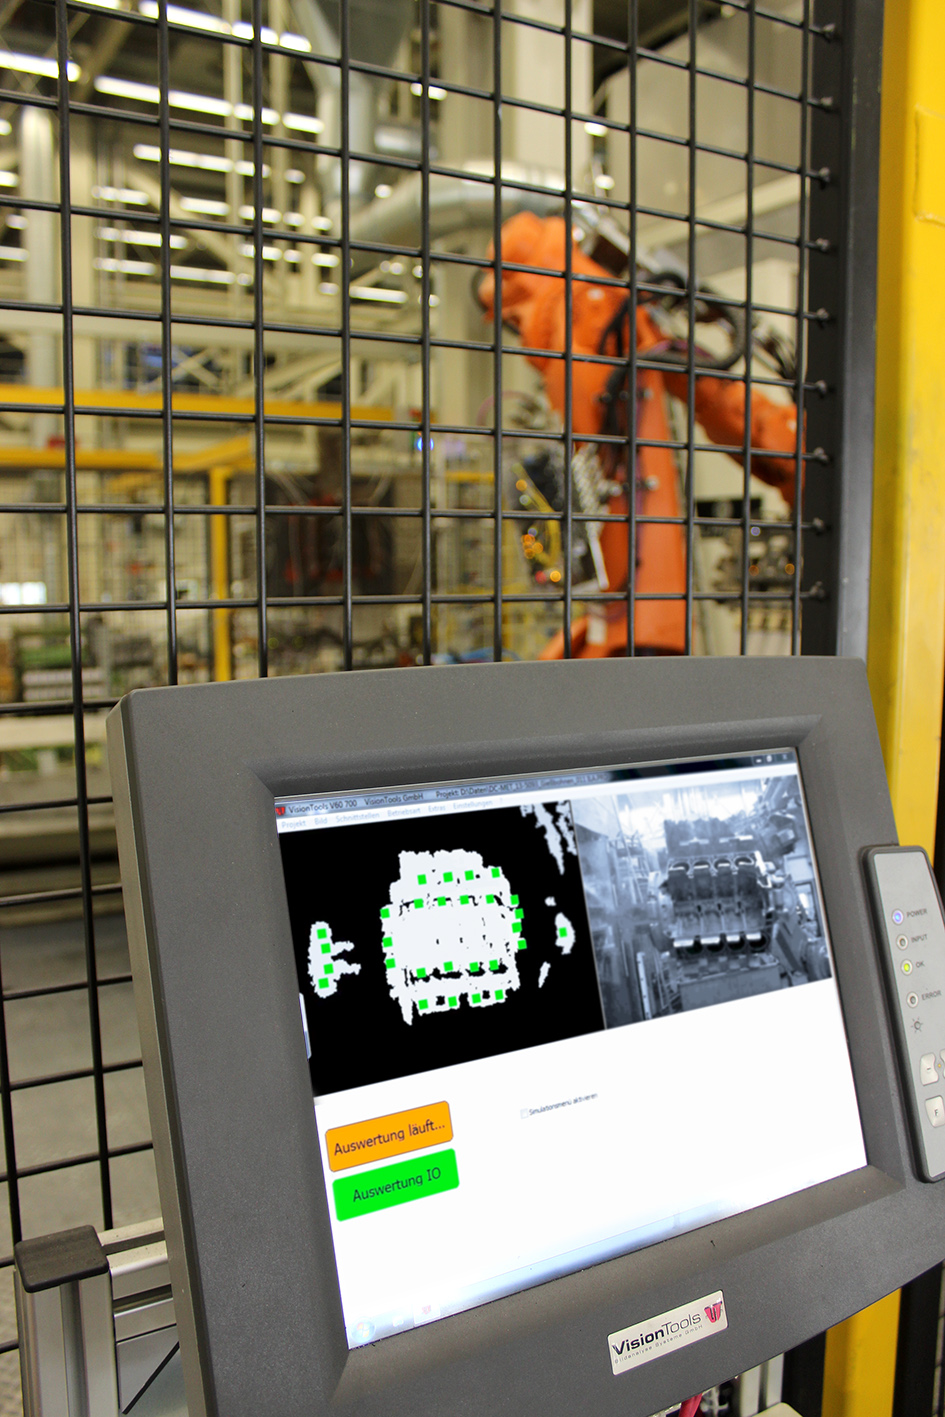
At a die casting machine in the Mercedes-Benz plant in Esslingen-Mettingen, cast parts are checked for the correct condition of the casting beans, sprues, casting runs, casting channels and feeders.
Previously, this was done using several initiators or photoelectric proximity switches. As a result of the small distance to the casting, there is not only a high thermal load but also the danger of collision with the component. In addition, a type or tool change at the die casting machine usually requires the reorientation or extension of the existing sensor system.
Now the conventional method has been replaced by a camera system mounted at a safe distance.
A 3D camera was installed at a distance of approx. 1 meter to capture the component geometry. The evaluation is done with the image analysis software VisionTools V60. Depending on component size and bean position, several images are required to check all beans, slugs and sprues. For this purpose, the robot positions the component accordingly in front of the 3D camera. Image acquisition and evaluation takes between 0.3 and 1.2 seconds per component position. A type specification and specification of an check position number is made by the machine control system.
The system manages any number of type variants. The implementation of type and tool changes is only possible with the help of the VisionTools V60 image processing software and without changing the 3D camera. In order to achieve this, the software defines specific inspection characteristics once for each component or inspection position. These are then compared with the recording of the current cast product and an error message is issued in the event of deviations. A standstill of die casting machines due to faulty component checks can now be almost completely avoided.
